Luscious Red Velvet Brownies

As seen on: Delicious Dessert Recipes

This is the dessert combo you didn't know you were craving. Deep red velvet with rich cheesecake, all swirled together for shamelessly good snacking.

emilyscooks.com
Shared By Emily
Last revised on Mon, 02 Jun 2025 18:56:01 GMT
Two thick swirled brownies, red and white on top, stacked together on a white background. Save this
Two thick swirled brownies, red and white on top, stacked together on a white background. | emilyscooks.com

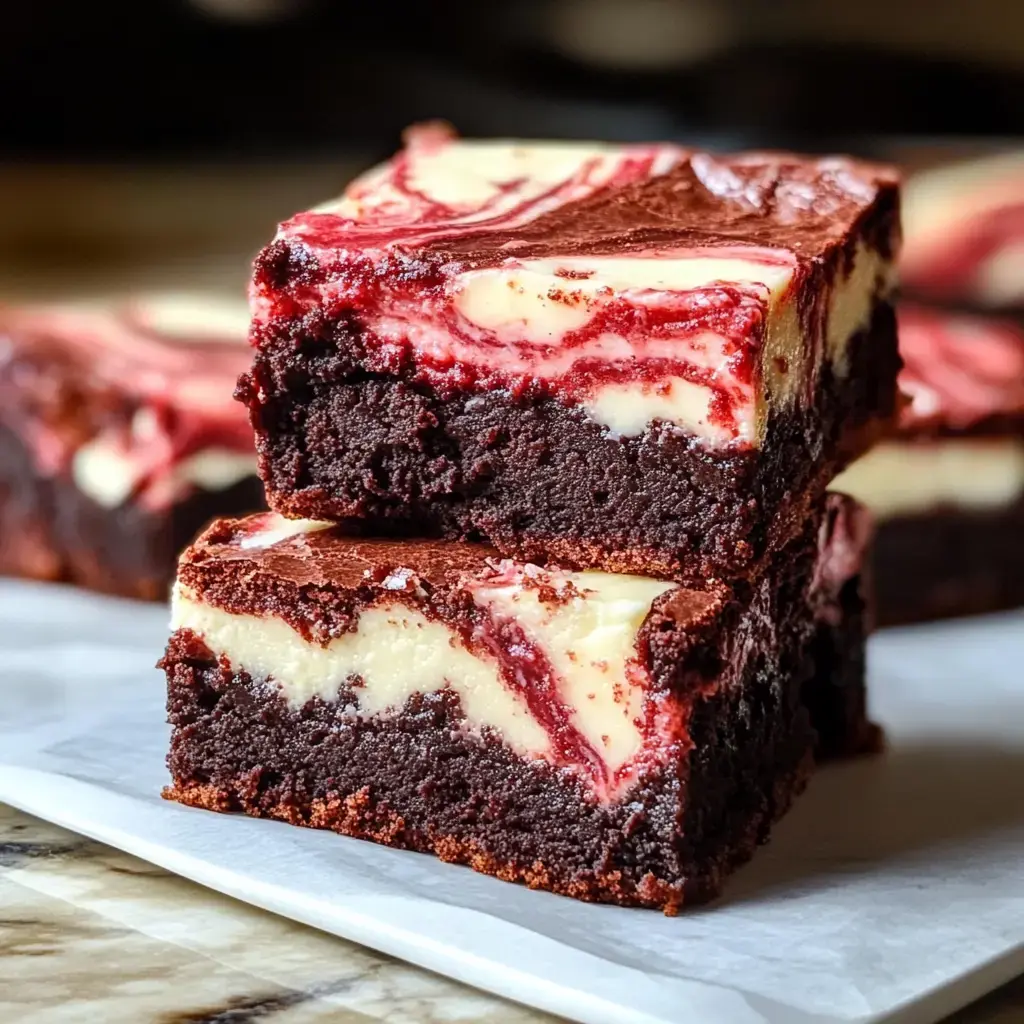
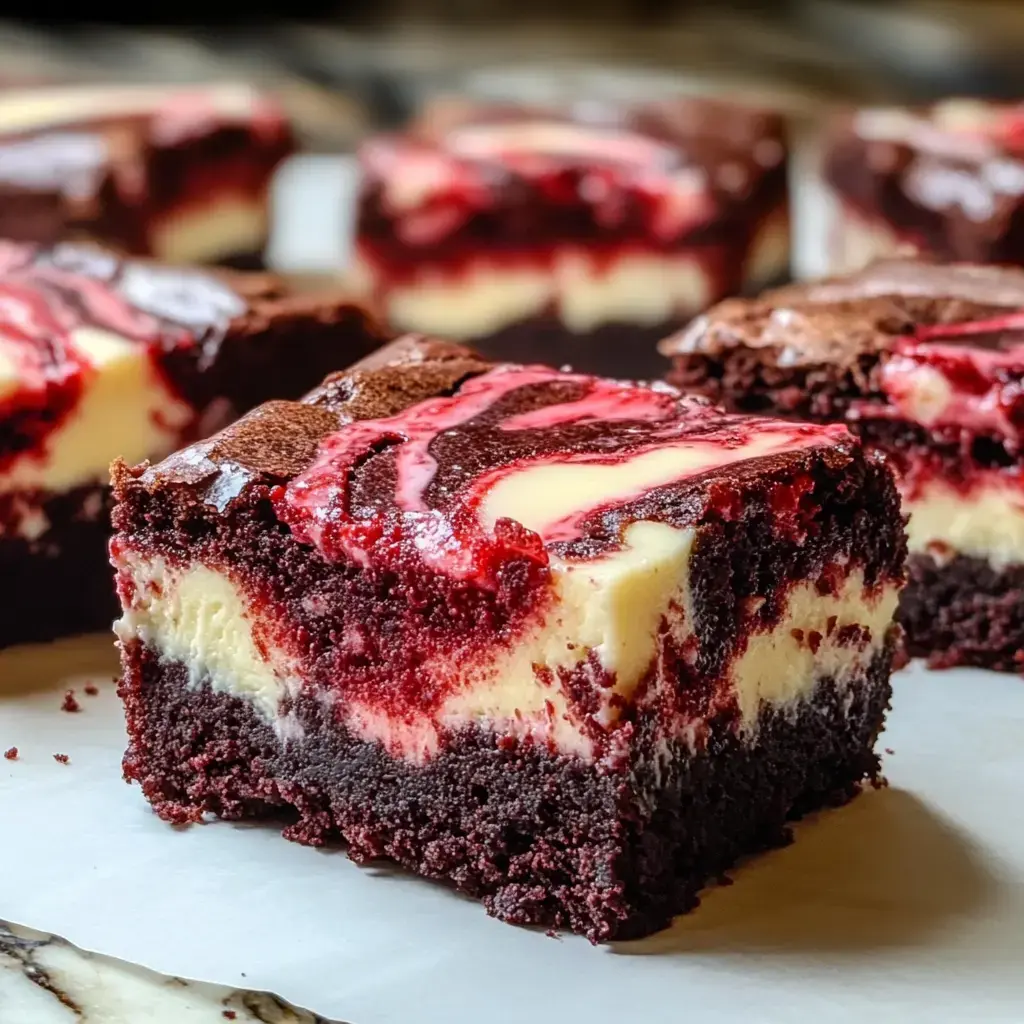
Check out my go-to dazzler for sweet tooths—Red Velvet Cheesecake Swirl Brownies. Imagine your favorite red velvet cake hanging out with a creamy cheesecake, all baked up as rich bars. The brownies sport a bold red hue, and there’s a creamy swirl on top that’s just dreamy. These are a hit at parties, but honestly, Valentine’s Day is when I love making them most.

Why They're So Irresistible

Honestly, these brownies rock because they mash up two tasty desserts into just one bite. The cocoa-rich red velvet layer has a little zing that keeps things interesting, while the cheesecake on top is super smooth and creamy. Plus, those bold red and creamy white swirls? They make your dessert spread look extra fancy every time.

Stuff You'll Grab

  • Cheesecake Swirl:
    • Block of cream cheese, make sure it’s soft
    • One egg—just throw it in
    • Vanilla extract, real deal if you can
    • Some sugar for just the right amount of sweet
  • Brownie Base:
    • A scoop of cocoa powder
    • Classic flour—measure it out first
    • Splash of red food coloring and a little vinegar for that signature taste
    • Eggs make it fudgy
    • Melted butter gives it richness
    • Plain old granulated sugar
You can see the rich red velvet and the thick cream cheese swirls up close in these brownies. They look soft with bold colors and creamy layers. Save this
You can see the rich red velvet and the thick cream cheese swirls up close in these brownies. They look soft with bold colors and creamy layers. | emilyscooks.com

Common Questions

→ When will I know they're baked enough?

Stick in a toothpick—if it's got a little bit of crumb but not raw batter, they're done. The middle should be set, not bone dry.

→ Could I prep these in advance?

Yep, toss 'em in the fridge and they'll last up to 5 days. They're even better after chilling overnight.

→ Any trick to slicing these neat?

Wait till they're cold, grab a knife you've run under warm water, and wipe it after each cut.

→ What's the vinegar doing here?

Vinegar really pops the color and works with the cocoa so they're soft and tender.

→ Do I have to use food coloring?

Nope, they'll be just as tasty but without the signature look.

Velvet Cheesecake Brownies

Fudgy red velvet bars with a creamy cheesecake surprise. Tangy, rich, and just right for a party or when you want to spoil yourself.

Preparation Time
20 Minutes
Cooking Time
30 Minutes
Overall Time
50 Minutes
Shared By: Emily

Meal Type: Desserts

Skill Level: Moderate

Cuisine Style: American

Makes: 12 Portions (12)

Special Diet: Vegetarian-Friendly

What You’ll Need

01 items Softened 8 oz cream cheese.
02 items 1/2 teaspoon vanilla extract.
03 items 1/4 cup sugar.
04 items 1 large egg for the cheesecake swirl.
05 items 1/4 teaspoon salt.
06 items 1 1/4 cups regular flour.
07 items 2 teaspoons vanilla extract.
08 items 1 tablespoon red food dye.
09 items 3/4 cup melted unsalted butter.
10 items 1 cup plain sugar.
11 items 2 large eggs for the main batter.
12 items 1 teaspoon white vinegar.
13 items 1/4 cup plain cocoa (unsweetened).

Steps To Make It

Step 01

Let it finish cooling down all the way. Then you can slice it up.

Step 02

Toss it in the oven for about 25 to 30 minutes. Check the center sets up.

Step 03

Dollop the bit of batter you saved over the top. Swirl it in with a knife for a marbled look.

Step 04

Spread your creamy layer evenly across the brownie mix.

Step 05

Mix together cream cheese, sugar, an egg, and vanilla. Beat it all until it’s smooth and creamy.

Step 06

Scoop out about 1/4 cup of your brownie mix and set it aside. Pour the rest into your pan.

Step 07

Add in your cocoa, salt, and flour by sifting them over the wet stuff. Stir just enough until it’s mixed.

Step 08

Blend butter with sugar, then toss in eggs, vanilla, food coloring, and a splash of vinegar.

Step 09

Start by warming your oven up to 350 F. Line an 8 x 8 pan with some parchment paper.

Extra Notes

  1. You’ll get around 9 to 12 bars from this.
  2. Pop extras in the fridge. They’ll be fine up to 5 days.
  3. Vinegar makes the color pop and keeps things tender.
  4. Don’t want food dye? Just leave it out, no worries.

Essential Tools

  • 8x8 pan.
  • Parchment paper sheets.
  • Hand mixer.
  • Mixing bowls.

Allergen Info

Review ingredients carefully for allergens, and consult a healthcare provider if you're unsure.
  • Eggs.
  • Dairy.
  • Wheat/Gluten.

Nutritional Info (Per Serving)

Keep in mind, this data is an estimate and not a substitute for professional dietary advice.
  • Calories: 290
  • Fat Content: 15 grams
  • Total Carbs: 35 grams
  • Protein Content: 4 grams