
 Save this
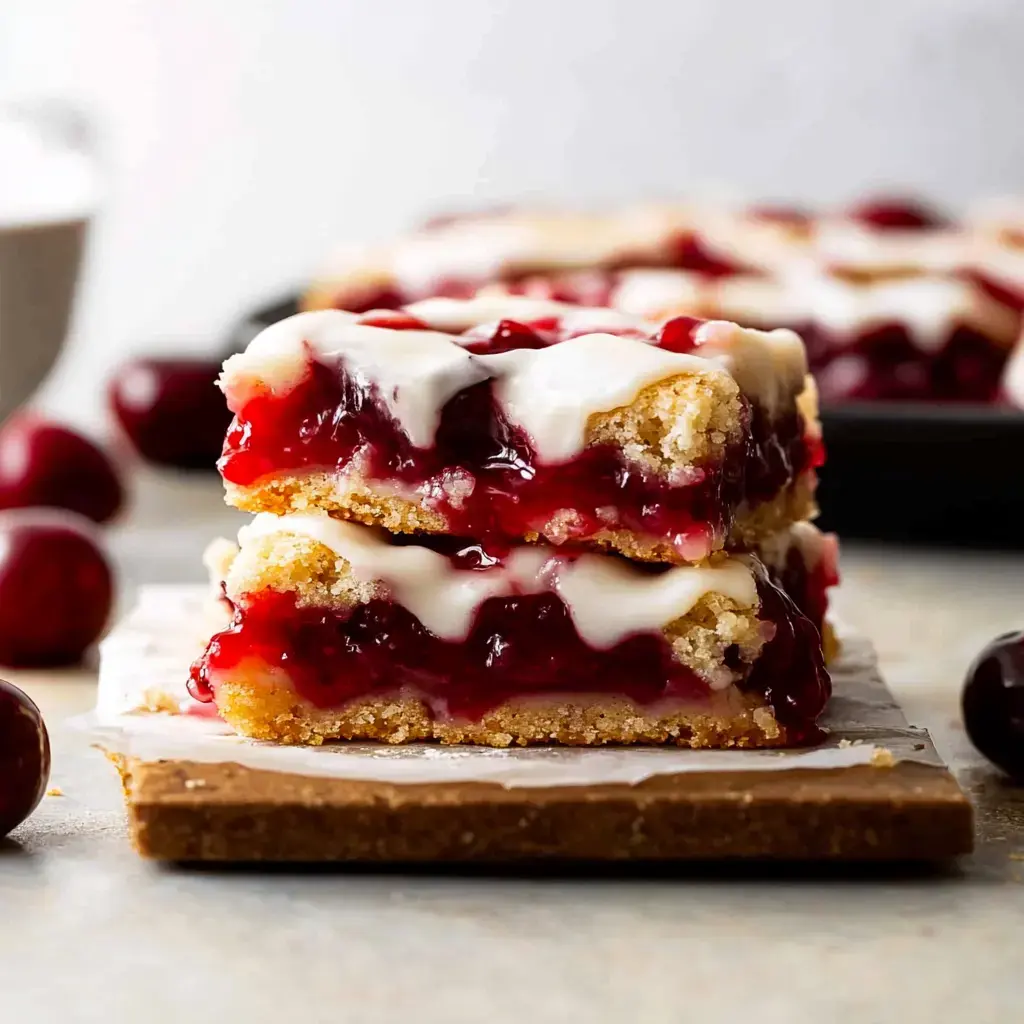
These Cherry Pie Bars have turned into my top pick for special treats without the hassle of traditional pie crusts. I've spent tons of time tweaking them in my kitchen. There's something truly wonderful about the mix of the soft, buttery base with sweet cherries on top, all finished with that amazing almond glaze. They always vanish quicker than anything else I put out!
An Irresistible Delight
What makes these bars so wonderful is how easy they are. They've got all the good stuff from cherry pie but come together much faster. The base gets slightly crunchy on the outside while staying soft inside. And when you taste that cherry part? Pure happiness. Then the almond topping just wraps it all up perfectly.
What You'll Need
- Butter: 1 cup at room temp for that super soft crust
- Sugar: 2 cups to give just enough sweetness
- Eggs: 4 at room temp for the best results
- Vanilla and Almond Extracts: 1 teaspoon each to boost the flavor
- Flour: 3 cups carefully measured for just the right feel
- Salt: 1/2 teaspoon to enhance everything else
- Cherry Pie Filling: 2 cans for quick and easy prep
- Powdered Sugar: 1 cup for the drizzly topping
- Milk: 2-3 tablespoons to make the perfect glaze
Baking Steps
- Making Your Base
- Start heating your oven to 350°F. Meanwhile, mix your butter and sugar until they're fluffy and light. Add your eggs and extracts, beating until everything looks smooth.
- Put It Together
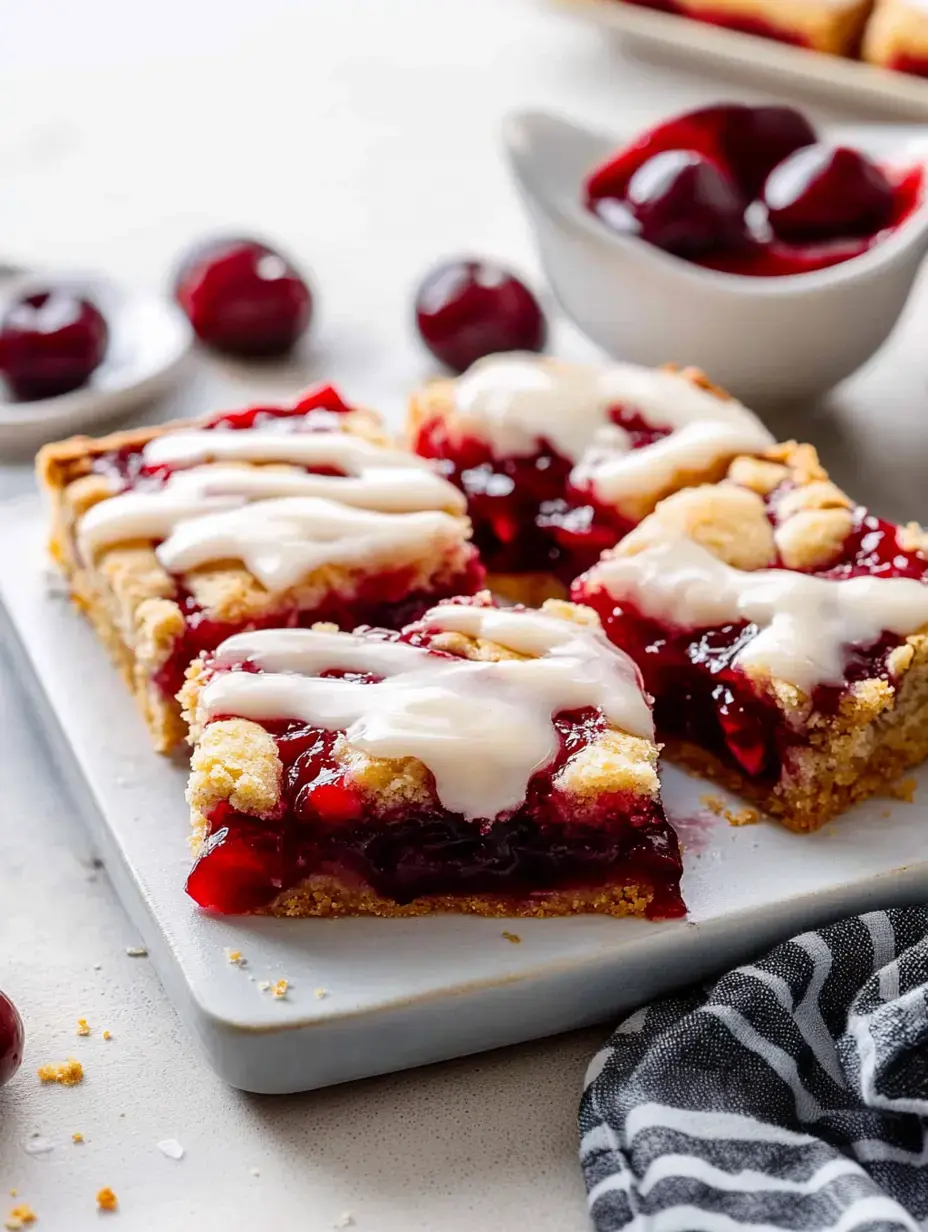
- Take about 3 cups of your mix and spread it in a greased 9x13 pan. Next comes the fun part - pour all that bright cherry filling on top. Drop small spoonfuls of leftover batter across the cherries. Don't stress about making it look perfect.
- Into The Oven
- Bake for around 35-40 minutes. You'll know they're done when the top turns golden and a toothpick comes out clean. Let them cool all the way - this takes some waiting but it's worth it.
- Add The Topping
- Mix your powdered sugar, milk, and extracts until they're smooth. Then drizzle it all across your cooled bars. It's like adding the final touch to something already beautiful.
 Save this
Handy Tricks
I've made these so many times and picked up some good tips. Always use room temp ingredients - they mix way better. When measuring flour, spoon it into your cup instead of dipping the cup - this keeps things light. And don't forget to grease that pan well! I found out the hard way what happens when you skip that step. Sometimes I use parchment paper too - makes getting them out so much easier.
Storage Advice
These treats stay good for about 5 days in a sealed container on your counter. If you like them cold, they can go in the fridge for up to a week. I often make extra and freeze half - just wrap them up with parchment between layers. They'll last 3 months frozen, but at my house, they never stick around that long!
Try Different Toppings
I love playing around with the glaze. Adding some orange zest gives it a fresh kick. When I want to show off, I'll use melted chocolate instead. My kids go crazy when I make a caramel topping - it really takes these bars up a notch.
Great Companions
We really enjoy eating these bars with vanilla ice cream on the side. There's something magic about warm bars and cold ice cream together. A bit of whipped cream works great too. And they go perfectly with your afternoon coffee or tea break.
Change It Up
Cherries might be my favorite, but any pie filling works great. Blueberry tastes amazing in summer, while peach fits fall perfectly. When I use apple filling, I'll throw some cinnamon in the base. And adding some chopped nuts on top gives such a nice little crunch.
 Save this
Potluck Winners
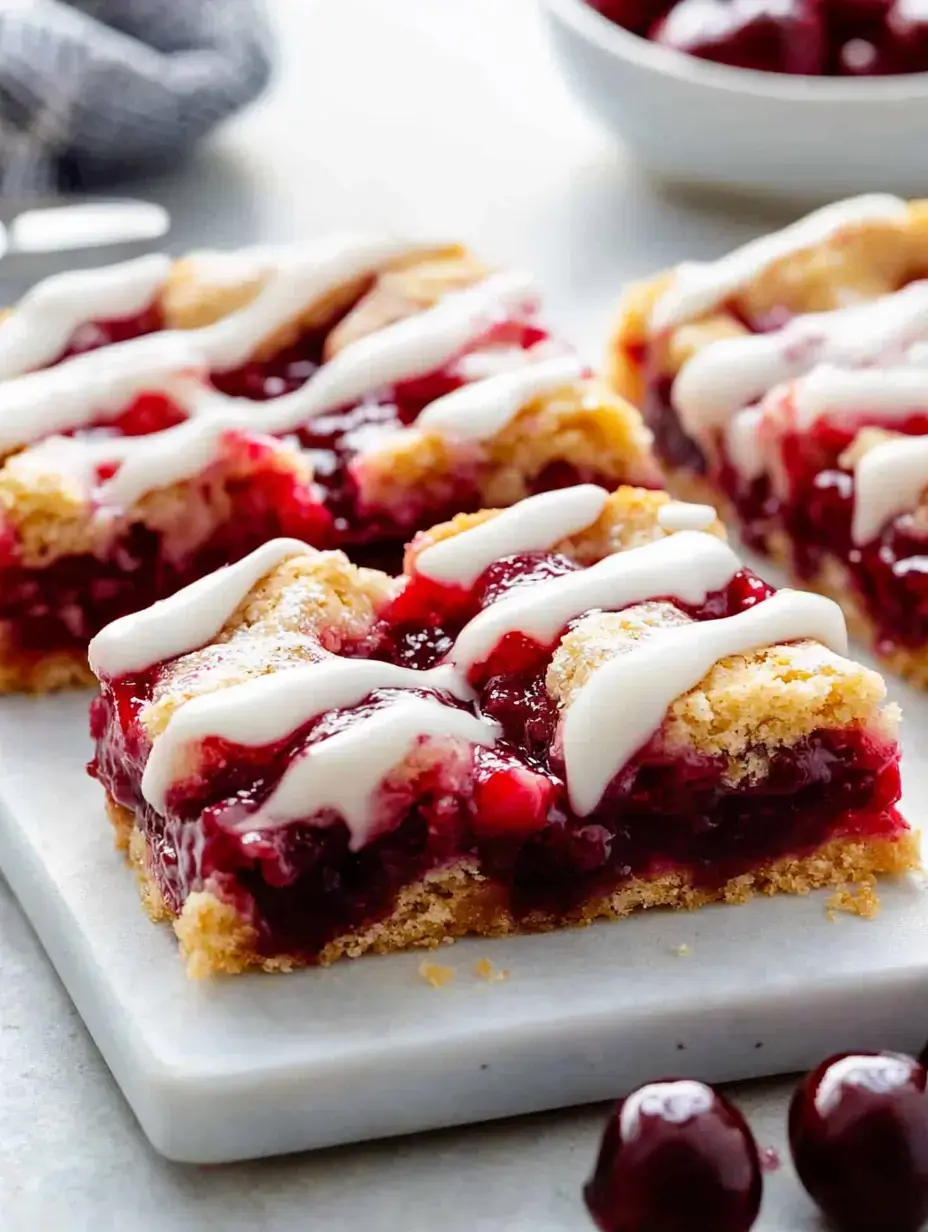
These bars have saved me at so many gatherings. They travel really well and you can cut them any size you want. I've brought them to everything from casual get-togethers to fancy parties. The bright red filling makes them look so pretty on any dessert table.
Prep Ahead
When I know tomorrow's gonna be busy, I'll make these the night before. I just wait to add the glaze until right before serving. It feels so good having dessert already done and waiting. They actually taste even better after sitting overnight when all the flavors mix together.
Always In Season
I really like how these bars work anytime of year. They brighten up summer cookouts but feel just right at cozy winter dinners too. The buttery base makes them feel like comfort food while the cherry part keeps them fresh and exciting.
Simple Shortcut
Using canned filling is such a time-saver. You can make these anytime without waiting for cherry season. All the other stuff you need is probably already in your kitchen - perfect when you need to throw something together fast.
Dietary Options
My gluten-free friend loves these made with cup-for-cup GF flour blend. Just check that your pie filling doesn't have gluten too. They stay just as soft and tasty - nobody can tell the difference.
 Save this
Extra Texture
I sometimes throw sliced almonds on top before baking - they get all golden and tasty. Pecans work great too, especially with different fruit fillings. That bit of crunch turns these bars from really good to absolutely fantastic.
Fancy Presentation
For special events, I'll cut these into tiny squares for an elegant spread. Sometimes I'll put fresh cherries on top or dust them with some powdered sugar. They look stunning on a tiered plate at parties or holiday gatherings.
Kid-Friendly Cooking
This is a great recipe to make with kids. My little ones love spreading out the cherry filling and watching the glaze drip down. It's a fun way to get them into cooking, and they're always so proud when they see the finished bars.
Drink Partners
A glass of cold milk goes perfectly with these bars, but sometimes I'll serve them with dessert wine at grown-up parties. They taste especially good with coffee or hot tea - the flavors really work well together.
What Makes Them Special
There's just something about these bars that feels like home. They hit that sweet spot between buttery crust and juicy cherries, plus that pretty glaze on top. They're not fancy but they're still special - exactly what a homemade treat should be.
 Save this
Common Questions
- → Can I swap in other pie fillings?
Absolutely! Try apple, blueberry, or whatever filling you fancy. The cooking time remains the same no matter what filling you pick.
- → What's the best way to keep these treats fresh?
Pop them in a sealed container at room temp for up to 3 days. They'll last even longer in the fridge, about a week.
- → Will these bars work if I freeze them?
They sure do! They'll stay good frozen for up to 3 months. Just wrap each one separately and tuck them in a freezer bag. Let them thaw in your fridge overnight.
- → What's the point of adding almond extract?
It makes the cherry flavor pop and gives your bars more depth. Cherries and almonds are natural buddies in the baking world.
- → Can I prepare these beforehand?
You bet! Make them a day early if needed. Just save the glaze part for right before you serve them so they look and taste their best.
Wrap-Up
These cherry treats turn traditional cherry pie into handy dessert squares, featuring store-bought filling and a rich buttery base covered with a delicious glaze.