 Save this
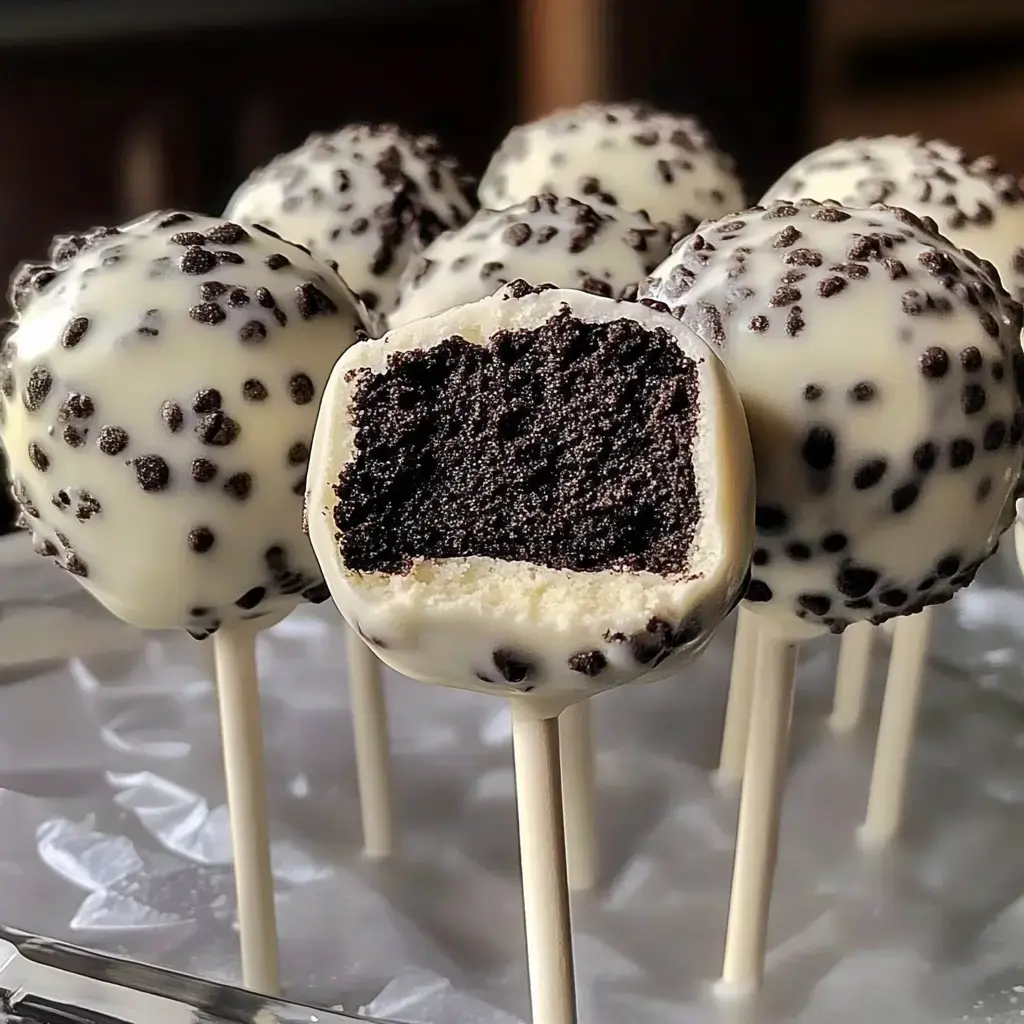
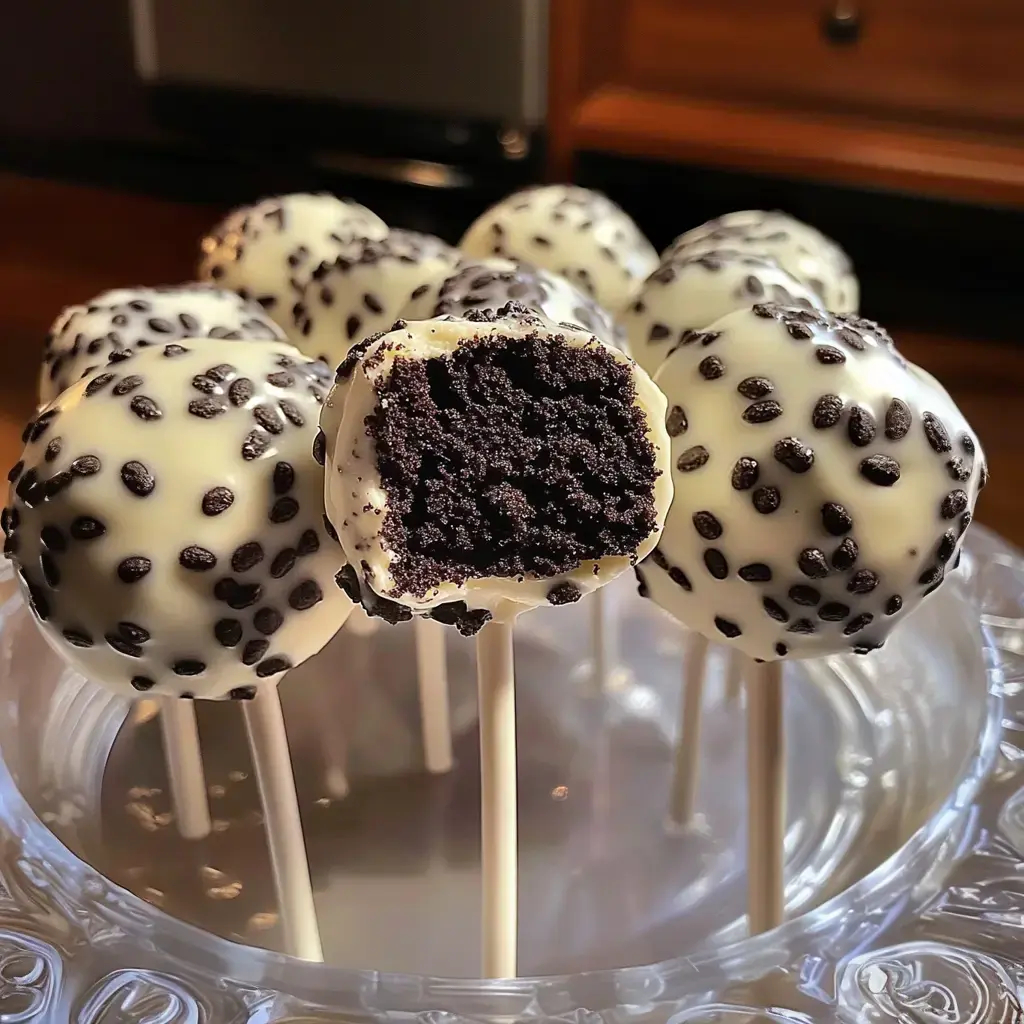
Oreo Cookies & Cream Cake Pops bring together crushed Oreos and soft cream cheese, all wrapped up in a smooth white chocolate shell—no oven needed. They're a blast to whip up and taste even better. Whether you're hanging out with friends, throwing a party, or you just need something sweet, these hits satisfy that creamy and crunchy craving. They're super simple to make, or you can mix things up with fun toppings and a drizzle of chocolate.
Irresistible No-Bake Delight
You'll love how these treats blend the classic Oreo cookie crunch with a creamy, dreamy center and a white chocolate outside. They're spot-on for handing out at parties or chilling at home with folks you care about. They throw together fast, giving you that satisfying bite of both smooth and crispy. If you're short on time but want to treat yourself, this is the one.
Must-Have Ingredients
- Cake pop sticks: Helps you grab and dip these sweets without the mess.
- White chocolate chips, melted: 12 oz, just right for covering your pops in a creamy shell.
- Cream cheese, softened: 8 oz, it pulls everything together for soft cake pops.
- Oreos, crushed: 15.25 oz, blend these until fine—they're your main base.
- Crushed Oreos: 1/2 cup, use these for decorating the outsides after dipping.
How to Make Them Step-by-Step
- Let Them Set
- Let your finished cake pops stand until the coating is firm. They're ready to share after that.
- Jazz Up and Finish
- Dunk each cake pop into your white chocolate, then quickly roll or sprinkle on your saved cookie crumbs before it sets.
- Melt the White Chocolate
- Pop the white chocolate chips in the microwave. Stop every 20 seconds to stir so you don't burn them. Get them nice and smooth.
- Freeze Until Firm
- Stick your cake pops on a tray and freeze for around 30 minutes so they hold together well.
- Make the Cake Ball Mix
- Mix your ground-up Oreos (except the part you saved) and the soft cream cheese until it all sticks together and feels like dough.
- Shape and Add Sticks
- Shape small 1-inch balls and stick a cake pop stick into each one.
- Crush the Cookies
- Blitz up your Oreo cookies fine in a food processor. Hold back about 1/2 cup to use for decoration later.
Smart Serving & Storing
Keep your cake pops in a tightly closed container in the fridge, and they'll last about five days. Want them to look extra special? Pop them in a cute stand or press the sticks into a foam block wrapped up in colorful paper.
Chef Hacks for Best Results
Go for top-notch white chocolate for the smoothest dip—Chef Ina Garten is all about that. If you like more crunch and color, Chef Duff Goldman says toss your cake pops in sprinkles or chopped nuts. Make sure the pops are super chilled before you dip them or they might fall apart in the chocolate.
 Save this
Fun Ways to Display
Want to make them look even fancier? Drizzle a little melted milk or dark chocolate over the top. Change up the vibe with sparkly edible glitter, colored sugar, or sprinkles to match any event.
Common Questions
- → How come my pops won't stick to the sticks?
Chill your pop mix really well before dipping, and don’t forget to dip the sticks in a dab of melted chocolate first. Let extra chocolate drip off gently—we don’t want them too heavy.
- → What if I'd rather use milk chocolate?
That’s cool—just melt your favorite kind. White chocolate gives that look, but you can switch it up with milk or even dark chocolate if that’s more your vibe.
- → How do I keep them fresh?
Pop them into something airtight and stash in the fridge for about a week. Or you can freeze them and pull them out whenever you want—good for three months.
- → Why did my chocolate get lumpy?
Keep any water away and only microwave your chocolate in quick 20-second zaps, mixing between each so it gets smooth and melty but doesn’t freak out.
- → Can I prep these in advance?
Totally, make them up to three days early and keep in the fridge. Just let them sit out a few before serving so they’re not too chilly.
