
 Save this
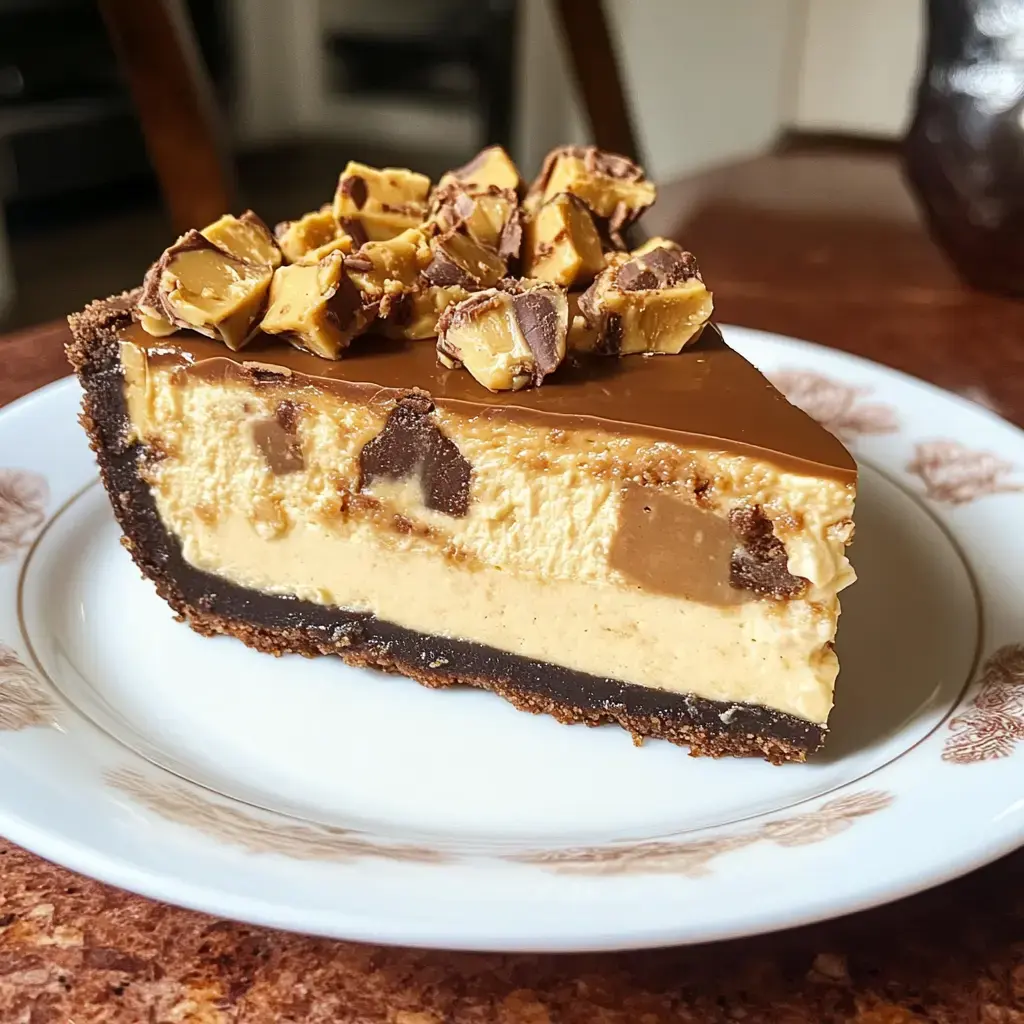
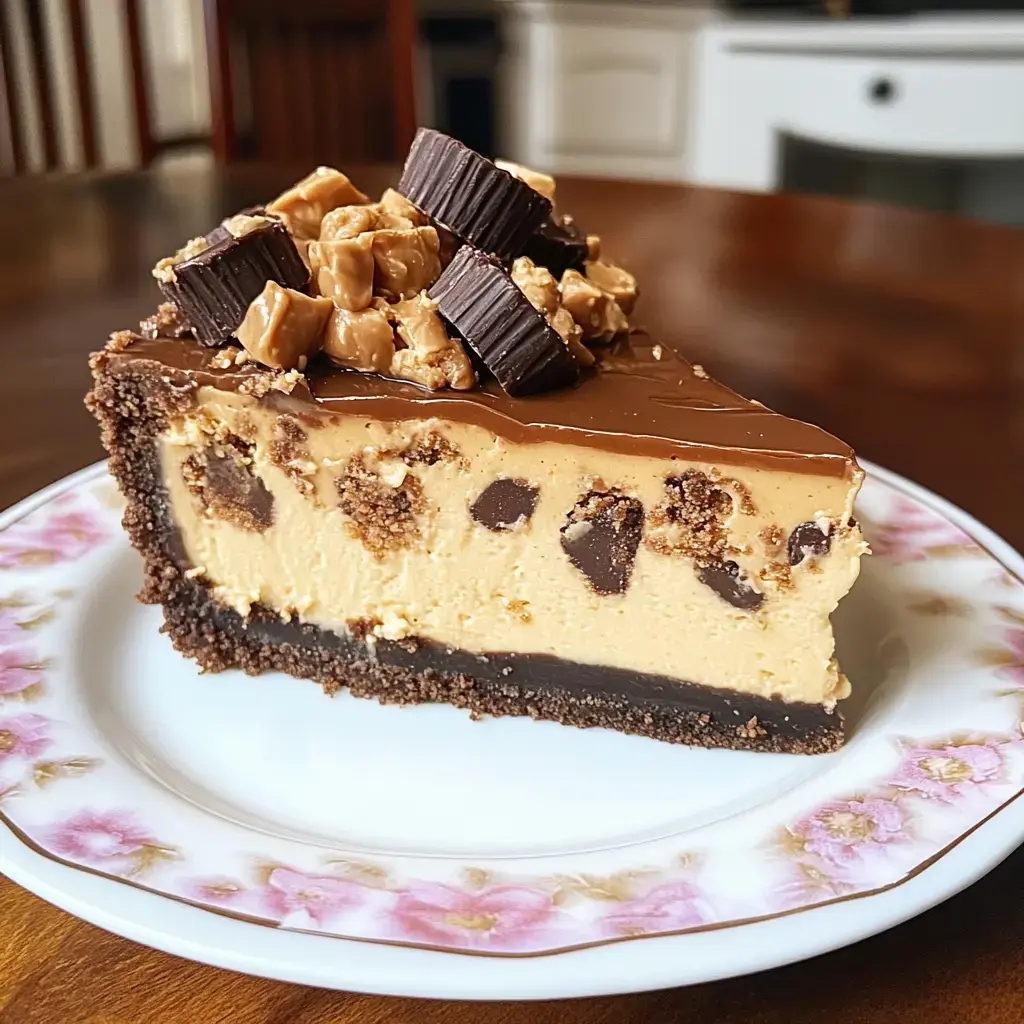
Imagine combining chocolate with peanut butter in a chilled slice that feels like pure bliss. I whipped up this dreamy Peanut Butter Cup Pie one night when sweet cravings struck hard. Ever since, it’s been everyone’s favorite treat at my family get-togethers. Best thing about it? You don’t turn on the oven—just whip, layer, and chill. It looks impressive but comes together in a snap.
The Wild Tale of My All-Star Pie
Honestly, this all started because I had extra Halloween candy hanging around. Mixing chunks of chocolate into a smooth peanut butter filling turned out amazing. My husband swears nothing from a restaurant tops this one. It’s reached legendary status anywhere I take it—potlucks, holidays, you name it.
What Goes In It
- Crust: 1 ½ cups of crushed chocolate cookies mixed with ¼ cup melted butter. I usually blitz up the cookies to dust in my processor first.
- Filling: Creamy peanut butter (1 cup—I like Jif), 8 ounces of soft cream cheese, 1 cup of powdered sugar, and 1 ½ cups of fluffy whipped topping get you that rich, smooth inside.
- Toppings: Cut up about 8–10 peanut butter cups (honestly I snack on a few) and drizzle on ¼ cup caramel sauce. Don’t hold back on extra whipped topping if you’re feeling it!
Whipping Up Some Yum
- Get That Crust Set
- Stir cookie crumbs with the melted butter until they clump together and press in a dish. I press hard with a measuring cup for a snug, even bottom.
- Make That Filling Fluffy
- Beat cream cheese, powdered sugar, and peanut butter until it’s velvet-smooth. Gently fold in your whipped topping until it’s all mixed and puffy.
- Time for Assembly
- Spoon the filling over the crust. Top with big peanut butter cup chunks and pour over caramel. Nibble a little—nobody’s watching.
- Patience Is a Must
- Chill in the fridge for about 3 hours. Hard to wait, but it’s so worth it when it sets.
My Go-To Tricks
Skip the natural nut butters for this pie—they just make the inside too oily. Want cleaner slices? Dip your knife in hot water between cuts. Some days I drop the pie in the freezer for 15 minutes before slicing—makes all the difference.
Be the Showstopper
I’ve served slices with my coffee or a cold milk. To get fancy, put the whole pie on your prettiest stand and toss some mini peanut butter cups on the platter. The compliments roll in every time.
Crunching the Numbers
Every piece is about 450 calories, but let’s be honest—that’s not the focus when it’s this good. It’s even got a little protein from the peanut butter. I like to pretend it counts as a small win for nutrition!
Stash and Save
Ours never survives a day, but you can stash leftovers in the fridge up to 5 days. Wrap it tight and freeze for a couple months if needed. Thaw overnight in the fridge and it’s good as new.
Your Top Questions, Answered
- Want to prep ahead? Go for it! The pie gets even tastier after sitting overnight.
- No whipped topping handy? Whip your own cream till it holds firm peaks and swap that in.
- Craving crunch? Chunky peanut butter inside is crazy good. Try it out.
- Struggling with a crumbly base? Press that crust down nice and tight, then chill—guaranteed to hold together.
 Save this
Grab a Fork and Dig In
This dessert always gets smiles at gatherings big or small. There’s just something irresistible about smooth chocolate with peanut butter. Make one soon and see how fast it disappears! Let me know what you think after your first try.
Common Questions
- → Will natural peanut butter work here?
Creamy peanut butter you usually buy works better since natural types sometimes split and mess with the texture.
- → How long will this pie taste good in the fridge?
If you cover it and keep it cold, it should be tasty for up to 5 days.
- → Is it hard to make this pie gluten-free?
It’s easy! Swap in gluten-free chocolate cookies for the base and you’re good to go.
- → What if my pie’s still kind of soft after chilling?
Make sure it chills at least 3 hours. It’ll set up best if you leave it overnight.
- → Is it okay to freeze this pie?
Totally! Wrap it up tight and freeze for as long as 2 months. Let it thaw in the fridge overnight before digging in.