
 Save this
Let me share my go-to oven brisket method that brings those classic Texas flavors straight to your home. I've spent countless hours tweaking this recipe, and I can guarantee you'll get amazing tender, juicy meat without any fancy smoker. The magic comes from my unique spice blend and a no-fail cooking method that'll wow everyone at your table.
Getting to Know Your Meat
During my time working as a butcher, I learned everything about brisket's special qualities. This fantastic cut comes from the lower chest of the cow and needs lots of time to go from tough to melt-in-your-mouth soft. You'll usually find the flat cut (the leaner part) at grocery stores, and that's exactly what works best in this recipe.
What You'll Need
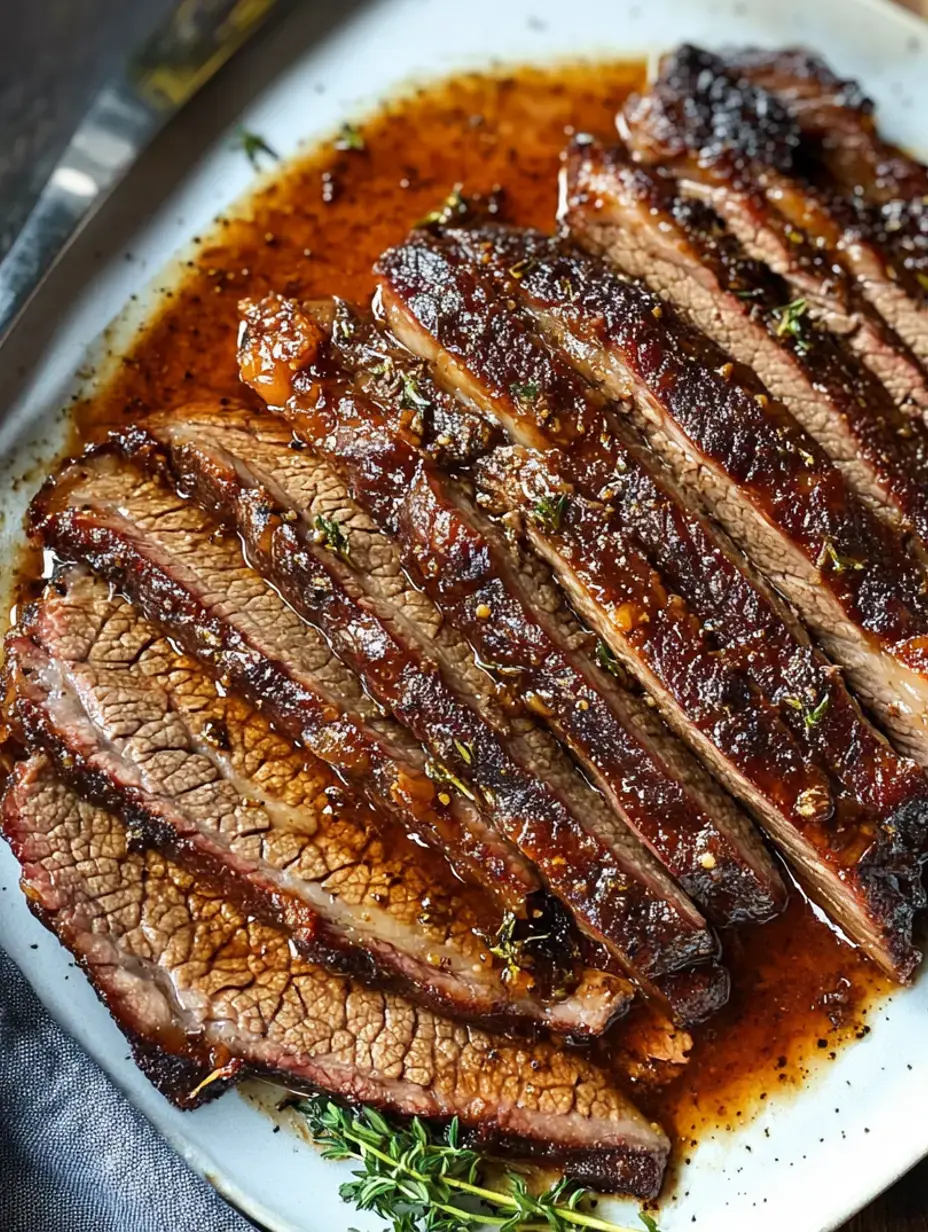
- Beef Brisket: Go for a flat cut that has a nice layer of fat running across the top
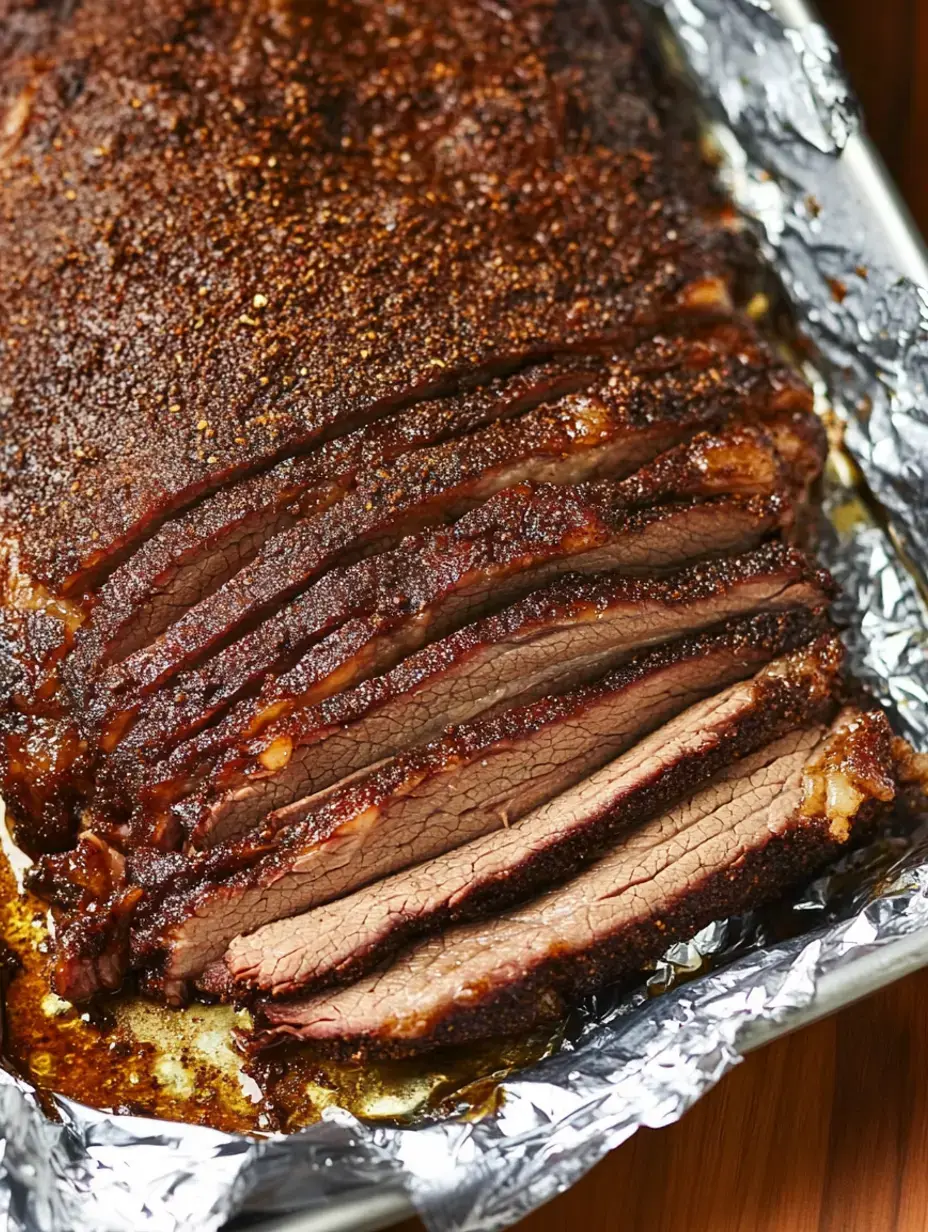
- My Flavor Rub: I combine salt, pepper, paprika, garlic powder and a bit of brown sugar for sweetness
- Aluminum Foil: This helps trap all those tasty juices inside your meat
- Roasting Pan: Find one with a rack so the heat can flow all around your brisket
First Steps
- Rub It Down
- Don't be shy - really massage those spices into every part of your brisket
- Give It Time
- Wrap it tight in foil and let it hang out in your fridge overnight - this is when flavors start to sink in
- Room Temp Matters
- Pull your meat out about an hour before cooking so it can warm up - this small step makes a big difference
The Cooking Process
- Prep Your Space
- Turn your oven to 300°F and put foil in the pan to make cleanup super easy
- Low and Slow
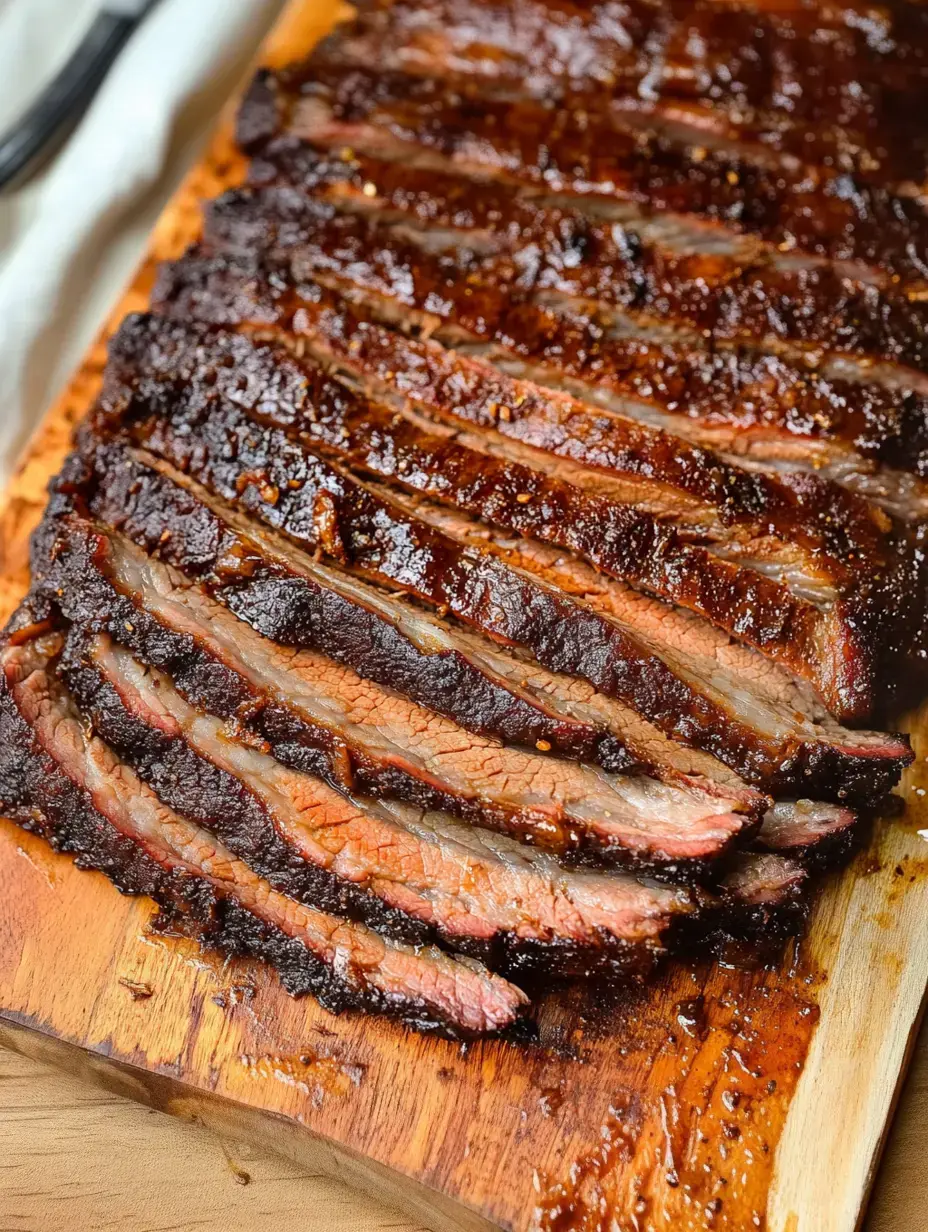
- Always cook with the fat facing up, loosely covered, for about 75 minutes per pound until it reaches 185°F
- Finishing Touch
- Unwrap the foil and let it cook one more hour until it hits between 200-202°F
- Take a Break
- Let your brisket sit for at least half an hour under a foil tent before you cut into it
 Save this
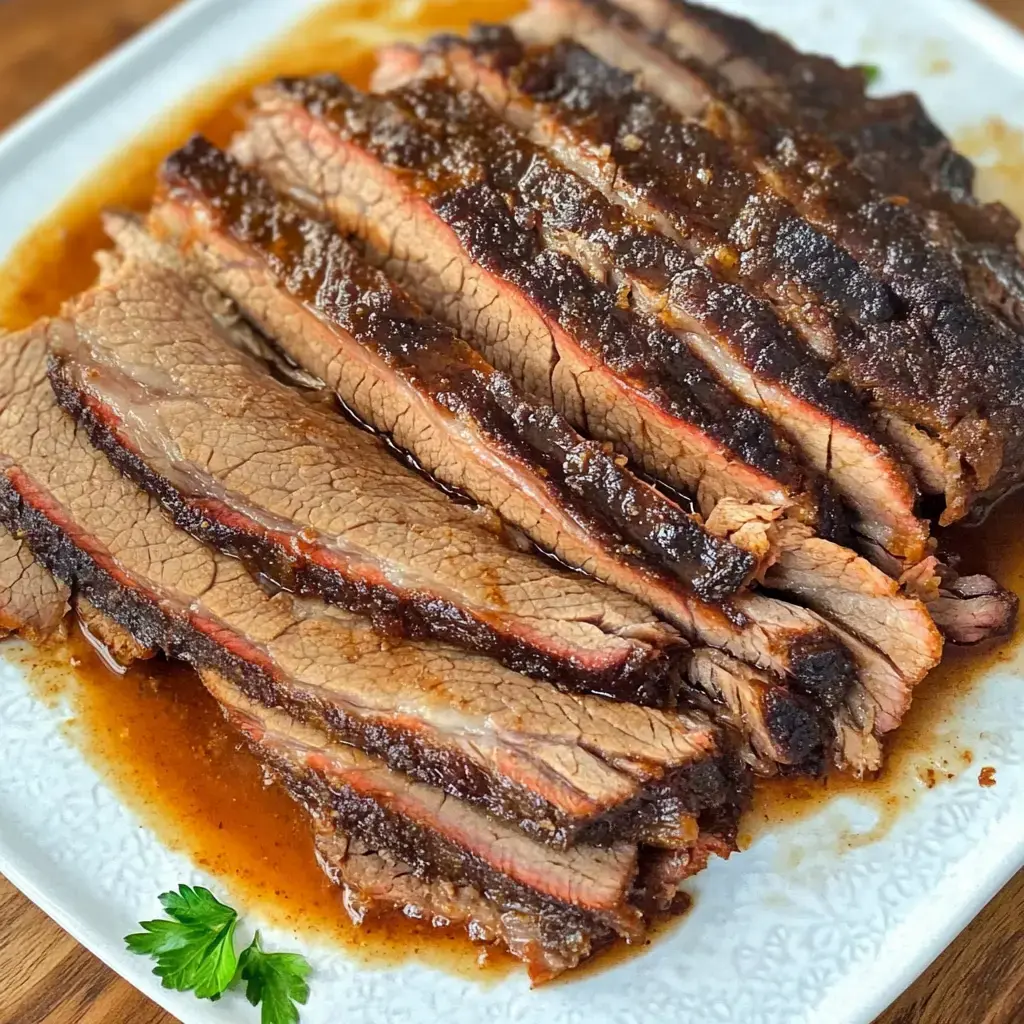
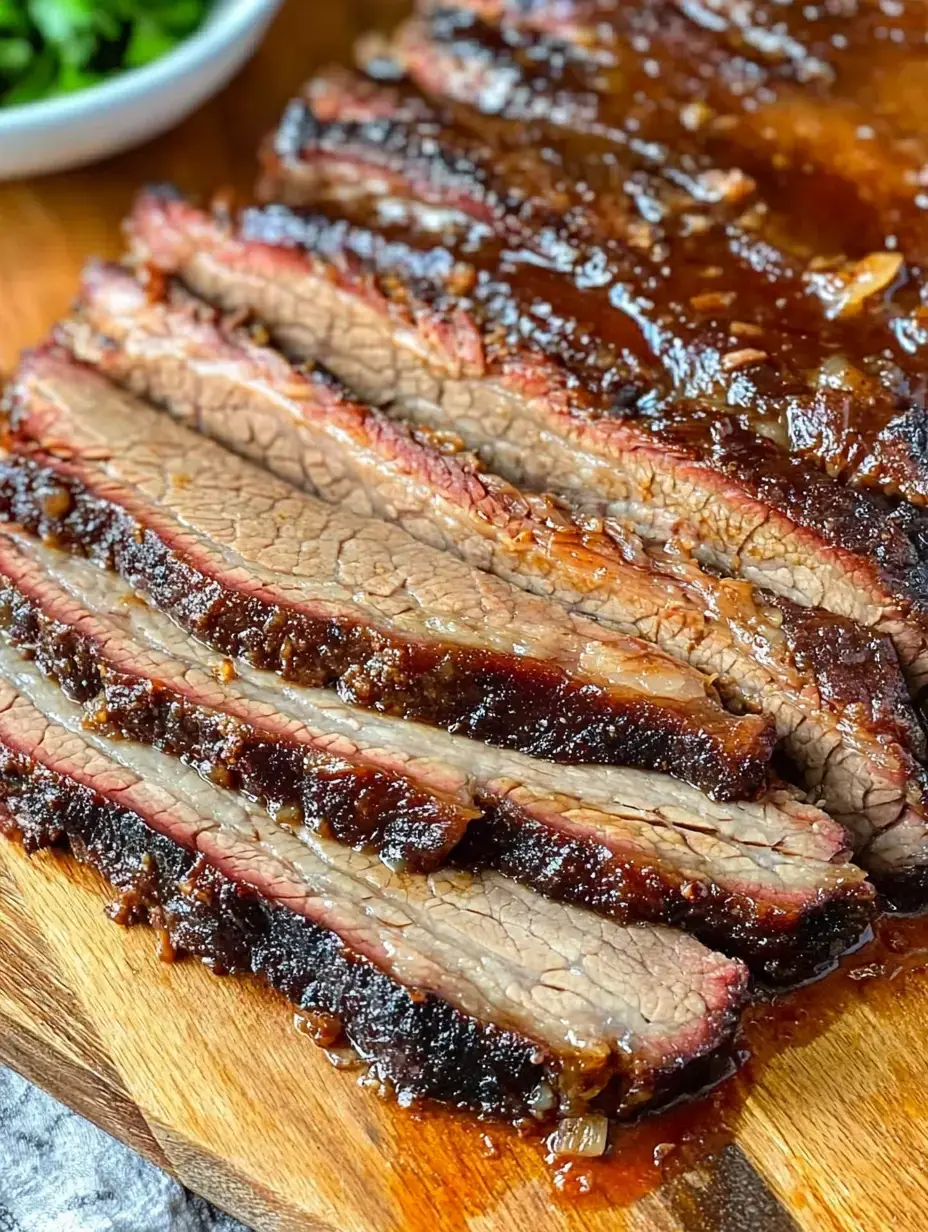
Smart Slicing Tips
My grandma always taught me to cut against the grain. Think of it like finding the lines running through your meat and slicing across them. This easy trick turns every bite into something incredibly tender.
How Much to Make
From what I've seen, about half a pound per guest works well. But I usually cook extra. There's nothing better than brisket sandwiches the day after, and your family will love having those leftovers around.
Storing Extra Meat
My favorite way to save leftover brisket is to wrap it in parchment paper first, then add a layer of foil. It'll stay good in your fridge for almost a week, though at my house it never sticks around that long.
Warming It Up Again
When you want to reheat, cut the cold brisket into slices first, then wrap them in foil. Put them in a 350°F oven for about fifteen minutes and they'll be just as tender as when first cooked. Sometimes I think it tastes even better the next day.
Little Tricks That Work
Don't wrap your brisket too tightly in foil. Leave some space for air and always keep your thermometer nearby. These small things are what turn good brisket into something truly unforgettable.
 Save this
Work Smarter Not Harder
I always get my brisket ready the night before cooking day. The spices have more time to work their way in, and dinner comes together with way less fuss. It's become my favorite approach for easy entertaining.
Foods That Go Great With Brisket
At my table, brisket always shows up with smooth mashed potatoes and zesty coleslaw. I might whip up some BBQ sauce on the side, but honestly this meat has so much flavor on its own that sauce isn't really needed.
Using Up Every Last Bit
Leftover brisket becomes treasure in my kitchen. We love throwing it in soft tacos topped with fresh salsa or stacking it high on crusty bread. Sometimes I'll chop it up small for what my friends call the tastiest chili they've ever had.
Never Dry Again
The real secret to juicy brisket is watching that thermometer carefully and always letting it rest after cooking. I cook with the fat on top so all those good juices naturally flow down through the meat.
Food That Brings Everyone Together
Whenever I put this brisket on the table at family get-togethers, plates end up clean. Something about how tender and rich it tastes just makes people happy. It's now our go-to dish for any special occasion.
 Save this
Slow Cooking Wonder
There's really something wonderful about cooking at low heat for a long time. While the hours tick by, my whole house fills with amazing smells and that tough piece of meat slowly turns into something incredibly soft.
Tools You'll Need
I never start making brisket without my reliable meat thermometer and a really sharp knife for carving. You'll also need a good heavy roasting pan with a rack. These basic tools have always served me well.
Indoor Smoke Flavor
Want my sneaky trick for getting that outdoor taste indoors? Add a bit of smoked paprika to your spice mix. Sometimes I'll put in a couple drops of liquid smoke too. You'll get that wonderful BBQ flavor right from your kitchen oven.
Patience Pays Off
That final resting time under the foil might make you antsy but don't skip it. Those 30 minutes let all the juices move back through the meat, making every slice incredibly moist and tender.
Home-Style Comfort
This oven brisket has turned into my claim to fame dish. It captures all the heart of traditional BBQ but with indoor cooking ease. When it's cold outside or I'm short on time, this recipe always comes through for me.
 Save this
Common Questions
- → What's the point of keeping it in the fridge overnight?
- This rest time lets the flavors sink deep into the meat and starts breaking down tough fibers, making your brisket way more flavorful and tender.
- → Should the fat really go on top?
- Yes! When the fat's on top, it slowly melts and drips down, keeping everything underneath nice and juicy while adding tons of flavor.
- → How can I tell it's ready to eat?
- Stick a meat thermometer in the thickest part - you want to hit 180°F. Generally, plan for about 1 hour 15 minutes of cooking for each pound of meat.
- → Can I slice it right away?
- Don't rush it! Let your brisket sit for 30 minutes after cooking. This helps all those tasty juices spread throughout the meat instead of spilling out.
- → What's the best way to slice brisket?
- Always cut across the grain (opposite the muscle lines). This makes each bite tender because you're shortening the tough muscle fibers.