
 Save this
I wanna tell you about my favorite mac and cheese that brings comfort with every mouthful. This isn't your regular mac and cheese - it's got the best mix of cheeses, a smooth creamy sauce, and that crunchy breadcrumb layer on top. I've tweaked this over many summers and it always gets everyone at my table smiling.
Ingredients You Need
- Elbow Macaroni: 1 pound, pick quality pasta as it really counts
- Butter: 4 tablespoons, the foundation of your sauce
- Flour: 3 tablespoons, gives you that perfect consistency
- Milk: 3 cups, full-fat works best for creaminess
- Breadcrumbs: 1 cup, creates that wonderful crunchy top
- Gruyère: 1 cup, you'll thank me later
- Cheddar: 2 cups, always shred it yourself
The Cooking Steps
- Crown It
- Sprinkle those buttery breadcrumbs on top and cook until it's golden and bubbling, around 20-25 minutes at 375°F.
- Bring It Together
- Mix your pasta into that silky sauce so each piece gets totally covered. Pop it into your baking dish.
- Make That Dreamy Sauce
- Melt the butter, stir in flour and whisk thoroughly. Pour warm milk in gradually while whisking until it gets thick. Then the fun part - throw in all those yummy cheeses.
- Start With Perfect Pasta
- Cook your pasta in properly salted water until it's al dente. It'll still cook more in the sauce so we want it a bit firm.
Kitchen Wisdom
Always shred cheese yourself because packaged stuff doesn't melt properly. Watch your pasta closely since getting that al dente texture matters. When you're making sauce, pour milk bit by bit while whisking - your arms might get tired but you'll get that smooth creamy goodness.
Custom Touches
Feel free to jazz this up however you want. I sometimes throw in some crispy bacon bits or sweet caramelized onions. Try switching up cheese combos - Monterey Jack or bold provolone work great. If you like spicy food, add some cayenne pepper or chopped jalapeños.
 Save this
Prep Beforehand
Want a time-saving trick? Put everything together but wait on adding breadcrumbs. Cover it up and stick it in the fridge for up to 2 days. When you're ready to cook, let it warm to room temp, sprinkle those breadcrumbs and stick it in the oven.
Storing Extras
If you've got some left, it stays good in the fridge for about 4 days. To heat it up again, pop portions in the microwave or warm the whole thing in your oven under foil to keep it from drying out.
Tasty Pairings
This goes wonderfully with some grilled chicken or a fresh green salad. The mix of creamy mac with crisp veggies hits just right. And grab some crusty bread to soak up any extra cheese sauce on your plate.
Without Gluten
My friends who can't eat gluten love when I use gluten-free pasta and flour. Don't forget gluten-free breadcrumbs too. The key is finding pasta that doesn't turn mushy during baking.
Soul Food
There's something special about that first scoop showing all those cheese-coated noodles under that crunchy topping. It's one of those dishes that makes everybody happy, from little kids to grandparents.
 Save this
Tasty Topping Tricks
Wanna know my breadcrumb hack? Mix them with melted butter, some garlic powder and a bit of paprika before putting them on top. I sometimes add some grated parmesan too which makes it super golden and crunchy.
Cheese Matters
Don't skip shredding your own cheese. Those pre-shredded bags never melt right because they've got stuff added to stop clumping. A few minutes with your grater makes your sauce way smoother.
Works Everywhere
I've brought this to family dinners, holiday meals and neighborhood potlucks. It fits in anywhere you take it. That rich cheesy flavor makes people happy at any kind of get-together.
Kids Love It
My kids totally devour this mac and cheese. I sometimes use fun pasta shapes like shells or spirals to make them extra excited. It's also a sneaky way to mix in some veggies they might not eat otherwise.
Fancy Version
When I wanna go all out, I switch some milk for heavy cream and wow the richness is amazing. Sometimes I sneak an extra layer of cheese right under the breadcrumbs too because you can never have too much cheese.
 Save this
Plenty For All
This makes enough to feed lots of people. It's what I always take to family reunions and community dinners. People always ask me how I make it and I love sharing all the little tricks I've figured out.
Full Dinner Idea
Want something more filling? Toss in some torn rotisserie chicken or browned sausage bits. Diced ham works wonders too. These extras turn your side dish into a complete meal all in one dish.
Noodle Know-How
Here's my trick for perfect noodles: cook them about 2 minutes less than what the box says. They should still have some bite because they'll keep cooking in that hot cheese sauce. Nobody wants soggy mac and cheese.
Freezing Advice
You can totally freeze this - just get everything ready but leave off the breadcrumbs. Wrap it up good and freeze for up to 3 months. You can bake it frozen, just add about 15 extra minutes to your cooking time.
Forever Favorite
Mac and cheese has stuck around forever for good reason. It's basic stuff turned into something magical. This version with its perfect cheese blend and that crunchy topping takes it up several notches.
 Save this
Common Questions
- → Can I prep this beforehand?
- For sure, you can put it together up to a day ahead and keep it wrapped in the fridge. Just cook it about 10-15 minutes longer when starting from cold.
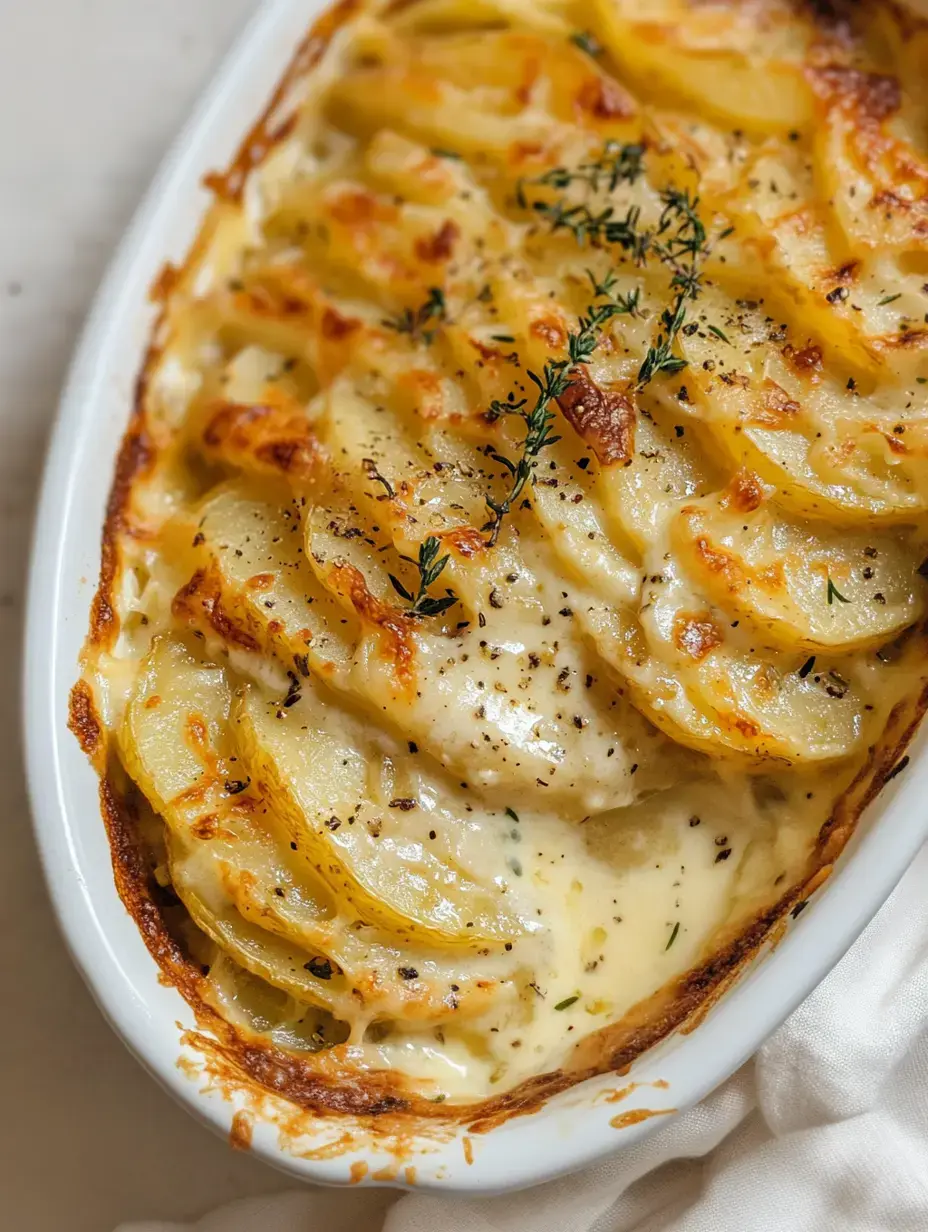
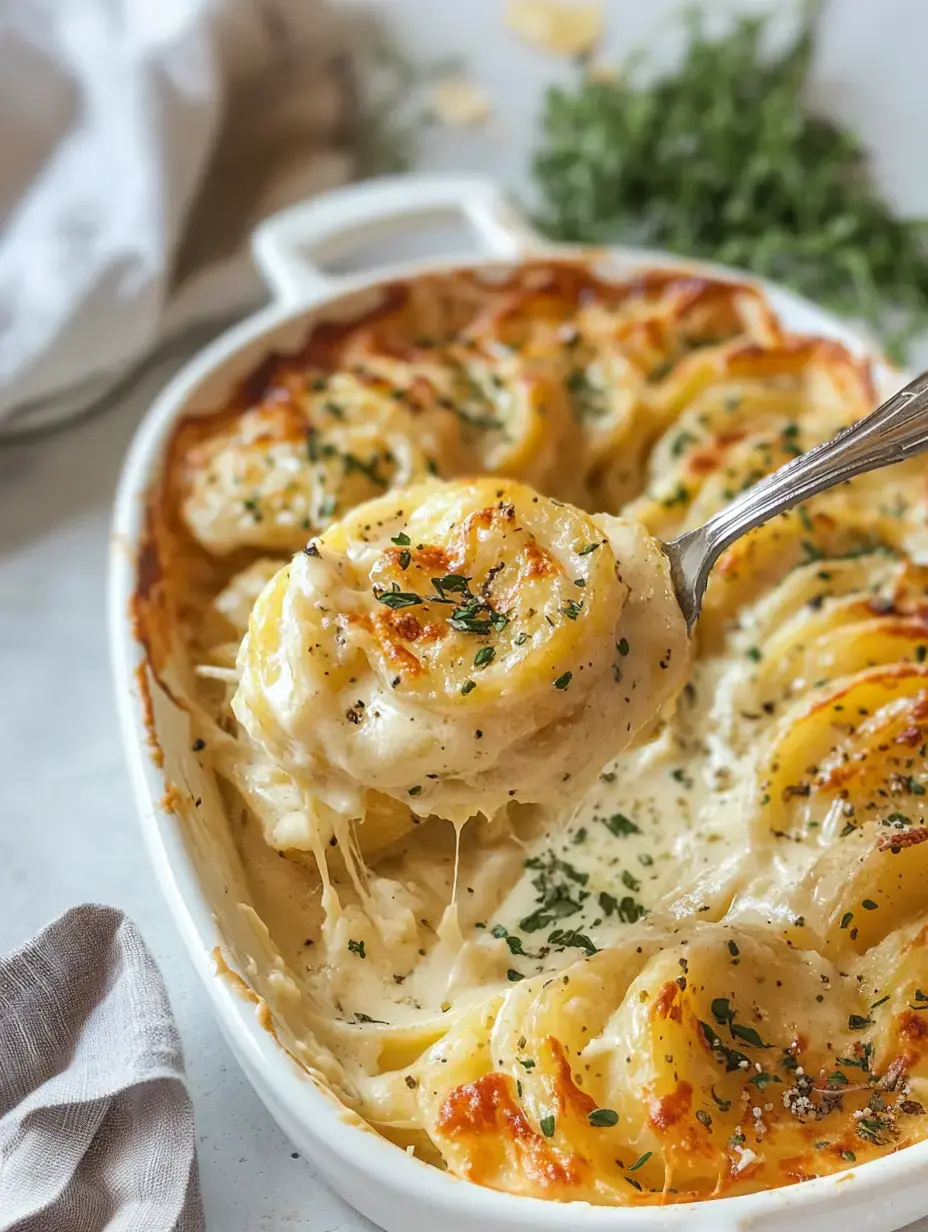
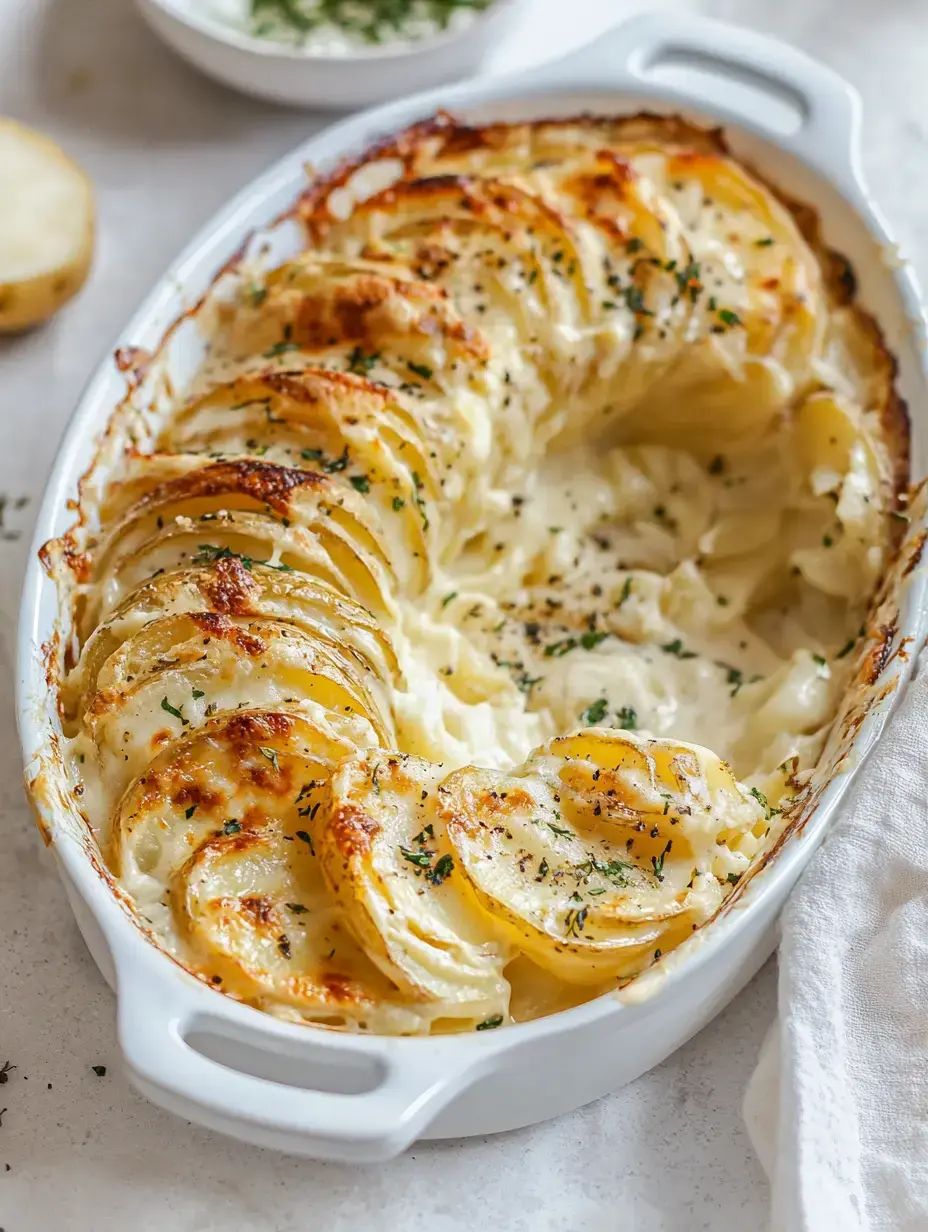
- → What if my potatoes cook unevenly?
- Try to cut your potatoes the same thickness - a mandolin works great for this. Different sized slices will end up with some overcooked and others undercooked.
- → Will other potato types work?
- Yukon Golds are best for their creamy nature, but russets are fine too. Stay away from waxy types since they won't soak up the sauce as nicely.
- → What's the point of the foil cover?
- The foil keeps the top from getting too dark while the potatoes get tender. Taking it off near the end gives you that yummy crispy surface.
- → Is freezing leftovers okay?
- You can freeze them, but it might make the creamy sauce a bit grainy. They taste way better when fresh or kept in the fridge for up to 4 days.